
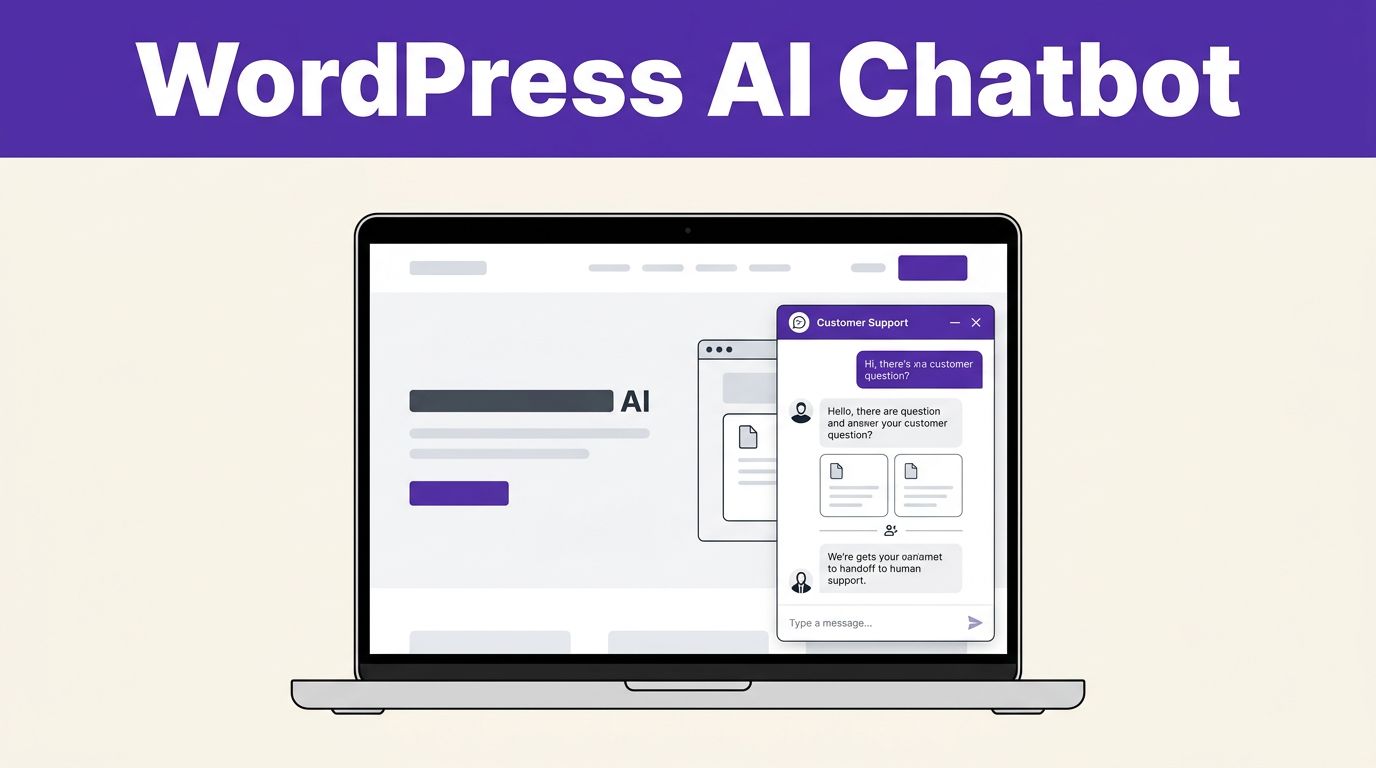


Most visitors leave when an answer is buried in a service page, policy PDF, or contact form. A chat window can help, but only when it gives dependable answers and knows when to bring in a person.
A WordPress AI chatbot can reduce repetitive support requests and collect better leads after hours. However, it needs clear source content, firm boundaries, and regular review.
Start by choosing a setup that fits the job your site needs done.
Step 1: Choose the Right WordPress AI Chatbot Model
Your first decision is not the chat widget’s color. It is where the bot runs, what information it can read, and where conversations go.
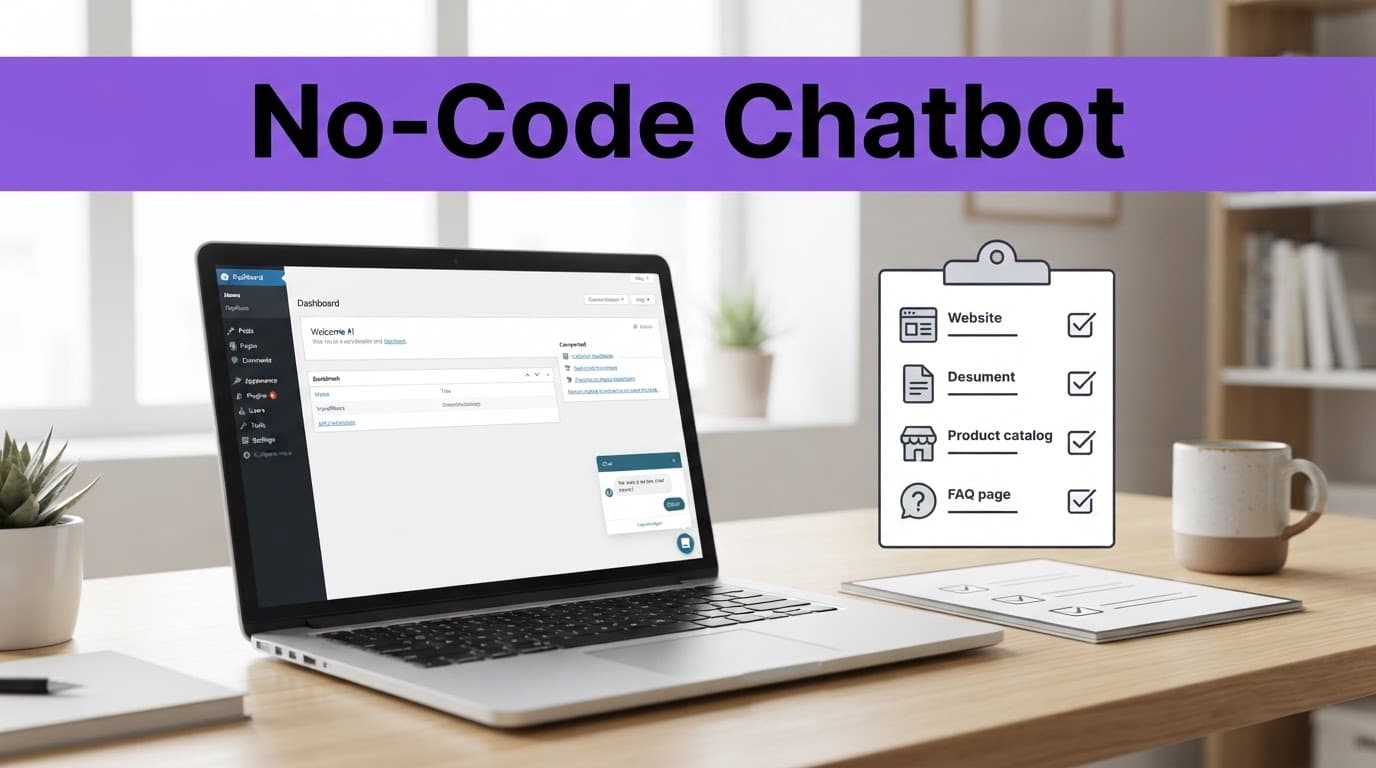
As of 2026, no-code options generally fall into three groups:
| Approach | Best fit | Main trade-off |
|---|---|---|
| WordPress-native plugin | Owners who want WordPress-side control and their own AI provider account | You manage API keys, usage costs, updates, and settings |
| Hosted AI chatbot tool | Teams that want a fast launch with less technical upkeep | Chat data and bot settings live partly on the vendor’s platform |
| Knowledge-base chatbot | Support-heavy sites with articles, FAQs, and documentation | It can only answer well when the source content is current |
Match the tool to the visitor’s real task
WordPress-native options such as AI Engine, Rapls AI Chatbot, Site Intent, and C7 AI Chatbot often use your own AI provider key. That gives you more control over model choice and usage billing, although it also gives you more settings to monitor.
Hosted services such as Quickchat handle more of the chatbot infrastructure for you. Meanwhile, knowledge-base tools such as BetterDocs and weDocs focus on answering from published documentation. The BetterDocs listing in the WordPress plugin directory is a useful starting point if your site needs a help center first.
A small local service business may need lead qualification and human handoff. A software company may need accurate setup answers. A blog may only need help locating guides. Those are different jobs, so they need different chatbot designs.
Step 2: Prepare the Content Before Turning On AI
A WordPress AI chatbot should answer from content you trust, not from every file your business has ever created. Start with pages that already help customers make decisions.
Break long information into useful answer units
Avoid uploading one massive PDF and hoping the bot finds the right paragraph. Instead, create short, well-labeled pages for common questions, pricing boundaries, service areas, booking rules, delivery details, return policies, and contact options.
Use clear page titles and plain headings. For example, a home-repair site should separate emergency guidance, operating hours, service locations, quote requests, and cancellation rules. This structure helps visitors too, even if they never open the chat.
Add a source only if you would feel comfortable sending that page to a customer without extra explanation.
Set boundaries around what the bot can access
Keep private staff notes, client records, passwords, internal financial data, and unapproved drafts out of the bot’s source library. A chatbot doesn’t need unrestricted access to your inbox, cloud drive, or CRM to answer basic website questions.
Create three simple content groups before you connect anything:
- Approved sources the bot can use for customer-facing answers.
- Topics that require a staff member, such as refunds, custom quotes, complaints, or account changes.
- Topics the bot must decline, including legal, medical, financial, or safety advice outside your published guidance.
For a wider view of tool choices, CRM connections, and compliance checks, this WordPress chatbot provider overview can help you compare the questions worth asking vendors.
Step 3: Install and Connect the Tool Without Code
The setup screens will vary by plugin, WordPress version, theme, and chatbot provider. Still, the common path stays familiar.
Follow the standard no-code setup path
- Create a backup and use a staging site if possible. A staging copy lets you test the widget without changing your live visitor experience. Confirm that you can access the WordPress admin area before installing anything.
- Install the plugin or connect the hosted service. In WordPress, go to
Plugins > Add New, search for the tool, then install and activate it. A hosted tool may ask you to create an account first, enter your site URL, and connect its WordPress plugin. - Add your AI provider key when required. Bring-your-own-key tools usually have a field in their settings panel for an OpenAI, Anthropic, Google, or Mistral key. Paste it only into the protected settings field, never into a page editor, public prompt, or chat message.
- Choose widget placement and visibility. Start with a small launcher in the lower corner. Limit it to pages where it helps, such as product, service, documentation, and contact pages. Keep it off checkout, payment, and sensitive account pages until you have tested it.
Look for the intent, not the exact menu name
A plugin may place its controls under its own left-side menu, Settings, Tools, or Appearance. Hosted platforms may call the source area “Knowledge,” “Train,” “Data,” or “Content.”
Find controls for these essentials: chat visibility, source content, welcome message, AI provider, conversation logs, handoff, and privacy settings. Save one change at a time, then open your site in an incognito browser to confirm what visitors see.
Step 4: Write Bot Instructions and Add Human Handoff
The strongest prompt is short, practical, and tied to your approved content. Don’t ask the bot to sound clever. Ask it to be accurate, polite, and honest about gaps.
Give the chatbot rules it can follow
Place a version of the following instruction in the tool’s system prompt or behavior settings:
Answer using approved website sources. If the answer is missing or uncertain, say so plainly and offer the correct contact option. Do not invent policies, prices, availability, or outcomes.
Then add your brand basics. Tell it whether to use short answers, link to relevant pages, ask one clarifying question when needed, and avoid making promises on behalf of your team.
If the tool supports source links, turn them on. A visitor who can open the return policy or booking page is more likely to trust the answer.
Build a handoff path that protects the sales process
Every chatbot needs a visible route to a person. Add a support email, phone number, contact form, appointment link, or live-chat handoff. Make that option easy to find before the visitor becomes frustrated.
For lead capture, collect only the information your team will use. A name, email address, question, preferred contact method, and consent field are often enough. If chat creates records in Pipedrive or another CRM, map the fields before launch. Match existing contacts by email when possible, assign an owner, and create a follow-up task only after the person agrees.
Teams that connect several systems can apply the same limited-access approach described in these n8n AI agent content workflows. Connect the chatbot only to the data and actions it actually needs.
A website chatbot customer-support guide also offers useful perspective for businesses that need the chat to support both customer questions and early lead qualification.
Step 5: Test Privacy, Accuracy, and Accessibility
Don’t publish a WordPress AI chatbot after one successful question. A polished greeting proves almost nothing. Test the awkward questions, incomplete messages, and failure paths that real visitors will bring.
Use a small but realistic test script
Ask questions that cover ordinary, unclear, and high-risk situations. Include spelling mistakes and different phrasing for the same request.
Test whether the bot:
- Gives an answer supported by a published source.
- Admits when it doesn’t have enough information.
- Sends visitors to a person for sensitive requests.
- Avoids revealing information from private or outdated pages.
- Works on a phone, tablet, and desktop browser.
- Lets keyboard users open, use, and close the chat window.
Check contrast, keyboard focus, readable text size, and whether the launcher has a meaningful accessible label. Don’t make chat the only way to reach you.
An accessible fallback needs to stay visible even when the chat widget fails to load.
Decide what happens to visitor data
Read the chatbot vendor’s privacy policy, data-processing terms, retention controls, and AI provider terms before launch. Ask where conversations, uploaded documents, and visitor details are stored. Also ask whether the provider uses any part of that data for model training.
Set a retention period for chat logs. Restrict access to the people who need it. Add a short notice near the widget or in your privacy policy that explains what the chat collects and where visitors can find support without using AI.
Never ask for payment card details, passwords, account recovery codes, or sensitive personal records in chat. If a visitor provides them anyway, your team needs a documented process for removing or securing the transcript.
Step 6: Maintain the Chatbot After Launch
A chatbot is a living part of your website. It becomes less useful when its source pages fall behind your business.
Review conversations for gaps and bad answers
During the first month, review transcripts weekly. Then move to a monthly schedule once patterns are clear. Look for unanswered questions, inaccurate replies, repeated handoffs, broken links, and terms visitors don’t understand.
Track useful measures such as resolved questions, handoff rate, source pages used, qualified leads, and visitor feedback. Don’t judge success by containment alone. A chatbot that ends conversations quickly with wrong answers can appear efficient while costing trust.
Current comparisons of WordPress AI chatbot options also show why hosted pricing, self-hosted control, page-load effects, and AI usage costs deserve a review before you commit.
When you change prices, policies, product details, or opening hours, update the relevant source page and retest the answer. Keep WordPress core, plugins, and the chatbot integration current. After any major update, confirm that the widget still appears, the handoff works, and the bot only uses approved material.
Build Trust Before You Chase Automation
A useful chatbot saves visitors time because it gives clear answers, useful links, and a fast path to a real person. Its value comes from disciplined source content, not a clever welcome message.
Build your WordPress AI chatbot around the questions your team already answers every week. Then test it with the questions your team hopes it never receives.